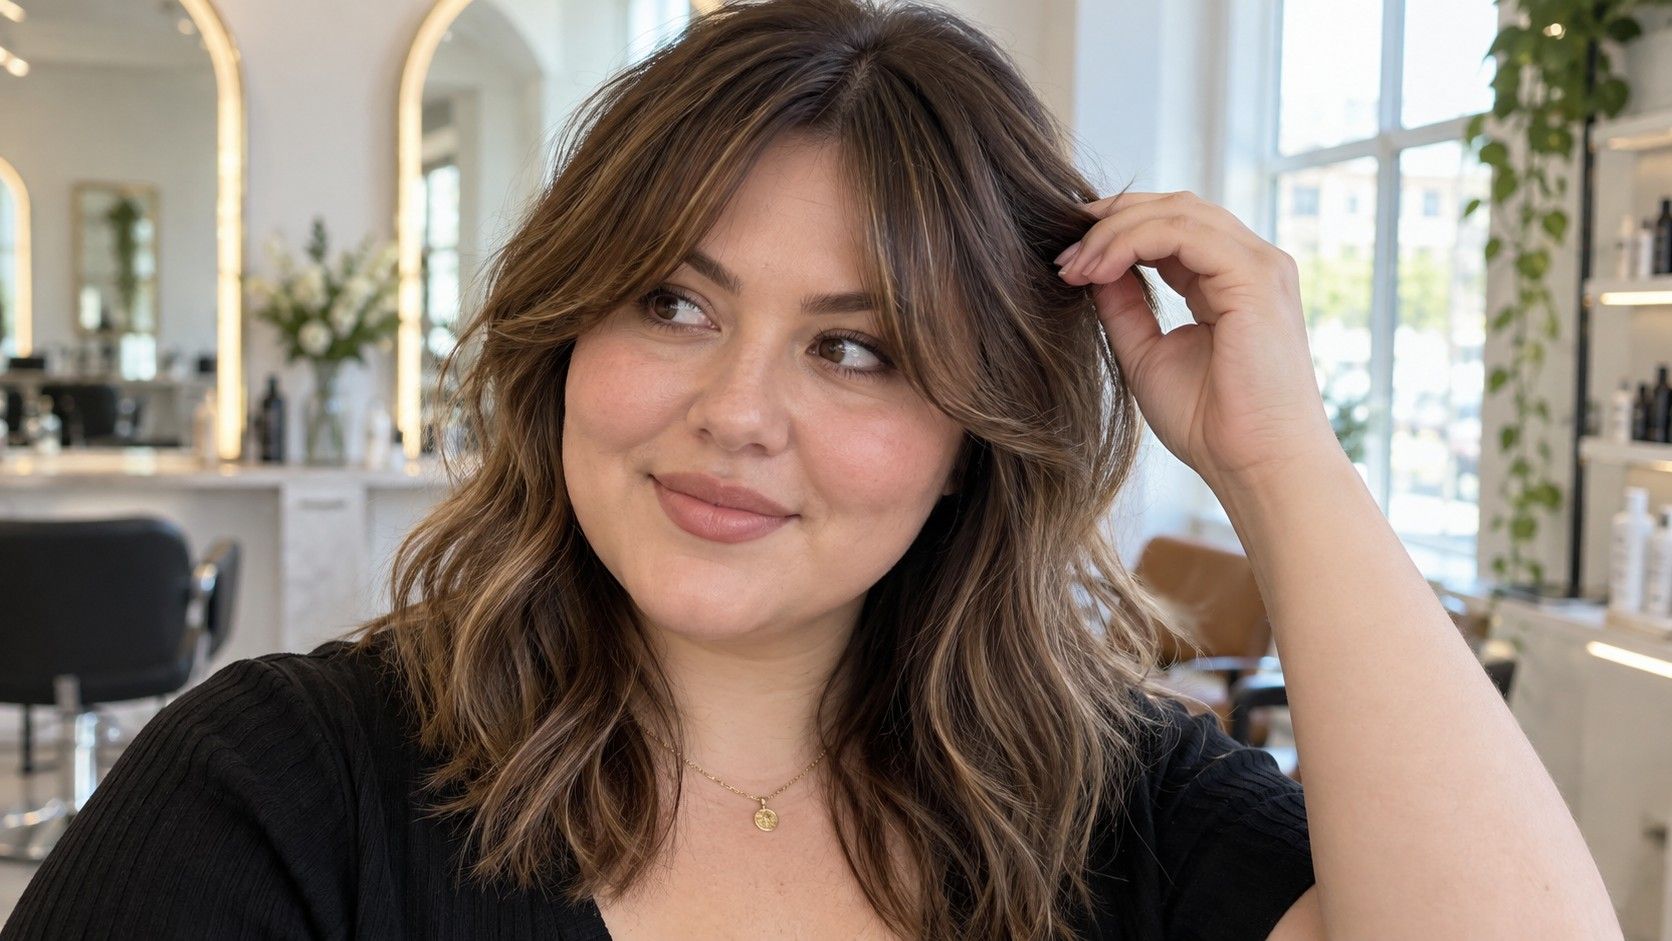
Makeup for a round face can be playful, subtle or deliberately sculpted. It does not need to begin with hiding the cheeks. I would choose the effect first, then test blush, shadow and shine in small steps. A few careful comparisons in ordinary light make placement easier to understand than a complicated map copied without regard to your own features.
Choose the finish before drawing a placement map
A round face often has a soft outline and broadly similar length and width. Makeup can emphasise colour, add a visible shadow or draw attention to a particular area, but there is no obligation to make that outline appear narrower. Decide whether you want a fresh wash of blush, a more sculpted finish or simply a quick routine that looks like you.
I would start with the makeup you already enjoy and change one placement at a time. A diagram covered with contour stripes can make it difficult to tell which step did anything useful. Try blush alone first, then decide whether you want another element. You may find that the colour provides enough interest without additional shadow.
Consider the setting too. Soft everyday makeup viewed at conversational distance is a different project from a strongly defined look for a staged photograph. A phone camera, overhead lamp and daylight can show the same application differently. Choose the result for the conditions that matter to you rather than treating one image as the final judge.
Before applying a new product broadly, follow its instructions and consider testing it on a small area first. Keep tools clean and avoid using a product that causes irritation. The placement experiment should be a simple cosmetic choice; there is no need to persist with a formula that feels uncomfortable.
Compare a centred blush with a higher sweep
Blush near the central cheek makes the colour itself a clear feature. A placement farther outward and a little higher creates a different direction of colour. Both can look appealing on a round face. Use your cheekbone and eye area as practical landmarks, while allowing for the fact that your features may differ from the face in a tutorial.
Begin with a small amount and a soft edge. Place the colour where you want the main concentration, then blend outward. It is easier to add another light layer than to remove a dense patch without disturbing the base. Step back before deciding that more is needed; a close mirror encourages small areas to seem less visible than they are.
A rounded wash of colour. Keep blush mainly over the central cheek. Check whether the edge remains soft when your face relaxes.
A directional sweep. Blend colour from the outer cheek toward the temple. Check whether the colour stops where you intend.
A subtle everyday tint. Use a thin layer over a limited area. Check whether it remains visible in ordinary daylight.
A stronger colour statement. Build saturation gradually in the chosen shape. Check whether both sides have a similar intensity.
Do the first comparison on an otherwise simple base. If one side has a different highlight or contour, you will be judging several changes together. You can try one placement, photograph it in consistent light, remove it and test the other. The point is to find an effect you like, not to prove that one direction is correct.
Keep contour optional and start with less
Contour uses a darker colour to suggest shadow. It does not need to follow a fixed stripe under every cheekbone. If you want to try it, identify the small area where you want a little more definition, then use a light application. A subtle result is easier to adjust and easier to assess in different lighting.
Look at the natural shadows on your face with your head level. Avoid pulling the cheeks inward and drawing a heavy line into a hollow that disappears when you relax. Blend the product while checking the normal expression you wear during conversation. The shape needs to make sense when your face moves.
Choose a shade that reads as a believable shadow on your own skin rather than copying a colour from a tutorial. A product that is too dark or strongly orange may look like a visible patch of colour. Test a small amount at the edge of the intended area before building it across the cheek.
Check the application from the side. A stripe hidden in the front view can remain obvious near the ear or lower cheek. If you have applied too much, soften it with a clean tool or a little of the base product you already used, if the formulas work together. Sometimes removing the section and beginning again is simpler than adding more layers.
Separate warmth, shadow and reflected light
Bronzer, contour and highlight can overlap in a routine, but it helps to decide what each product is doing. Bronzer usually adds warmth; contour is chosen for a shadow effect; highlight makes an area catch the light. You do not need all three. Using them by habit can make a quick look more complicated without giving you an effect you actually want.
If you like a warm finish, try a light layer of bronzer and assess it before adding contour. Notice whether the colour suits the rest of your makeup and whether its edge is visible near the hairline. A fluffy brush may create a broader wash than a small dense brush, so use the tool that matches the area you intend to cover.
For highlight, start with a small area you want to illuminate rather than drawing a long strip automatically. Turn your head toward and away from the light. A finish that looks barely visible straight ahead may become much brighter from the side, especially with a reflective powder.
Texture and finish are personal preferences. You may enjoy shimmer across the cheeks or prefer a softer sheen. Neither choice is dictated by roundness. Compare the effect in movement and ordinary light, then keep the amount that feels intentional to you.
Check the result away from the magnifying mirror
After blending, step back to a normal viewing distance and let your face relax. Look at the whole combination of blush, brows, eyes and lips. A cheek application can seem too strong when isolated close up and balanced once the rest of the makeup is complete. The reverse can happen too, so pause before adding another layer.
Move near a window where the light is comfortable and indirect. Check both sides by turning your head rather than relying on one bright frontal view. Overhead bathroom light can create shadows that encourage you to apply more product than you intended. A daylight check helps reveal edges, although the result will still change under evening lighting.
If you take a comparison photograph, keep the camera position, distance and lighting similar. Filters and automatic image processing can change colour and contrast, so use the mirror as another reference. The aim is consistency in the test, not a perfectly objective picture of your face.
Look again after you have worn the makeup for a while. Glasses, hair, touching the face and the base formula can change the finish. Note the area that needs a smaller amount or a different texture next time instead of redesigning the whole routine because one patch did not last as expected.
Build a small routine around your own features
A practical everyday version might be a thin base where you want it, blush in your preferred area and the eye or lip detail you enjoy most. Add contour only when you miss the effect it gives. A round face does not require a longer routine, and a simple look is easier to adjust when you are learning what each placement does.
Keep your natural differences between the two sides in mind. You may need a slightly different brush angle or amount of product to create a similar overall impression. There is no need to force exact geometric symmetry. Check the balance with the head level and the expression relaxed.
Make a short note of the product, tool and placement that worked. “One light layer on the outer cheek, blended with the clean side of the brush” is more useful than trying to remember a long tutorial. Repeat that version on another day before deciding whether to change it.
The best result of these experiments is a routine you understand. You know where you like colour, whether shadow adds anything and how much shine you enjoy. Those preferences are more valuable than a diagram that treats every round face as the same canvas.