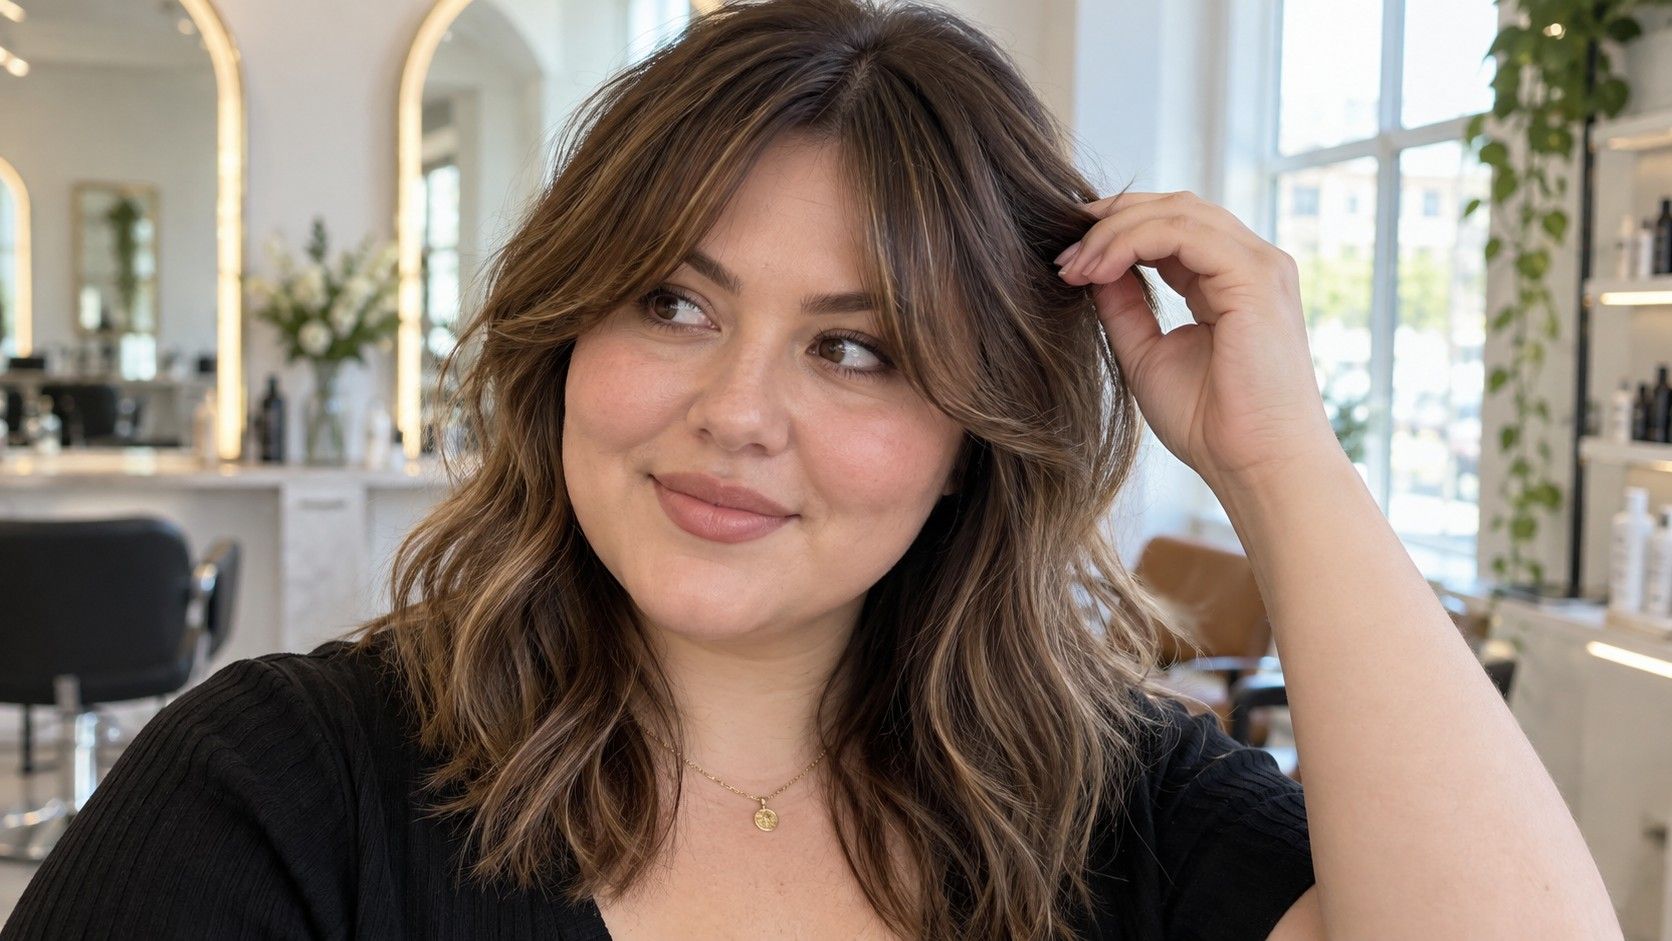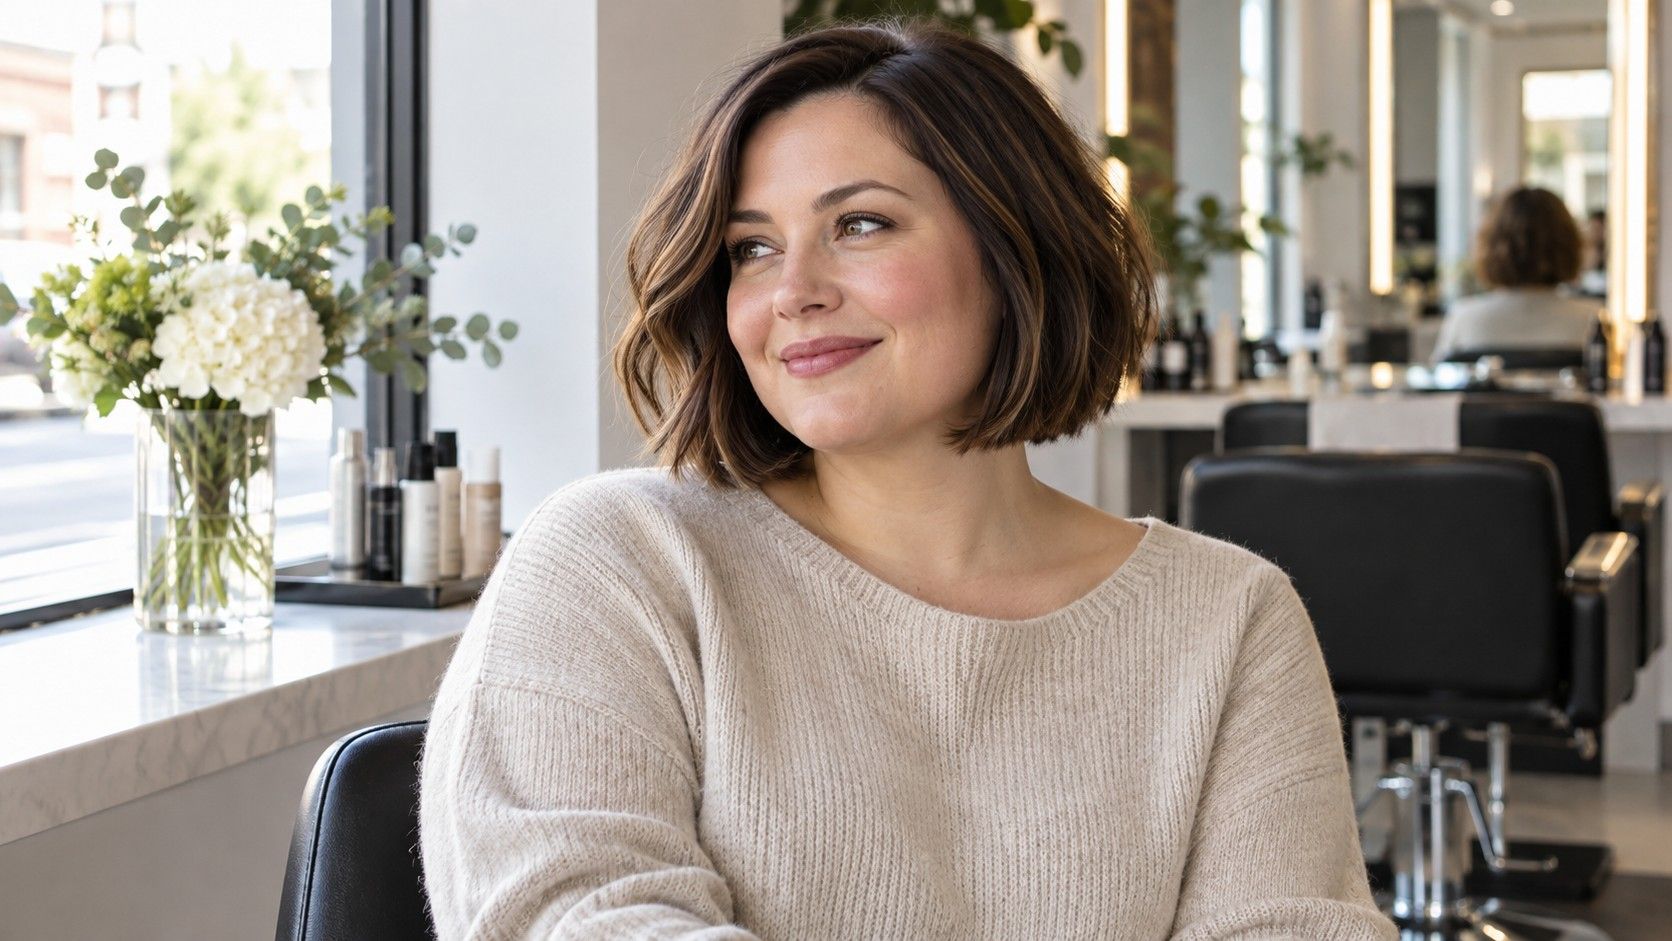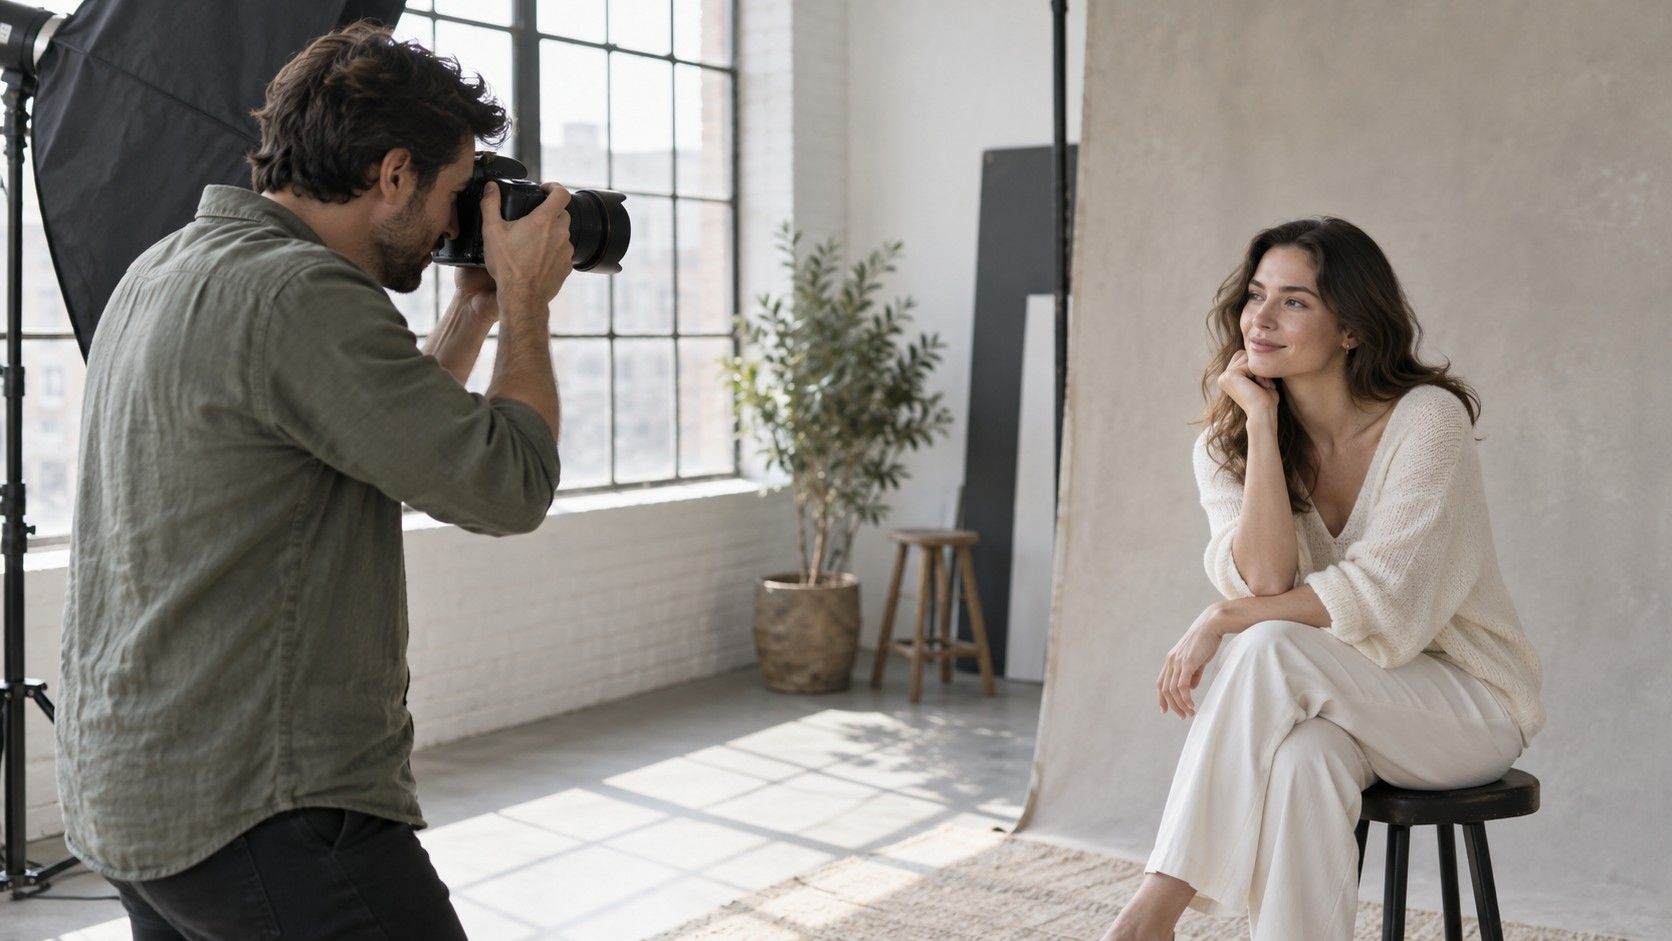
A round face in photos can look noticeably different from the outline you see in the mirror. Camera distance changes perspective, a slight head tilt changes which parts of the face are visible, and flat lighting can hide the shadow that usually defines a jaw. Before using one picture to choose a haircut or assign yourself a face-shape label, compare how the photograph was made.
Check how close the camera was
A face has depth: the nose sits closer to the camera than the ears, while the cheeks and jaw occupy different positions between them. At close range, those differences in distance are a large part of the total camera-to-face distance. The nearer features can therefore appear disproportionately large relative to features farther away. The result is a change in perspective, rather than a reliable new description of your facial shape.
This does not mean every close selfie makes every face rounder in the same way. Some pictures emphasize the central face, others hide the jaw through the angle, and the impression depends on the individual outline. What matters is that an arm's-length photograph is a different view from a portrait taken by someone standing farther away. Comparing the two as if they were identical measurements leads to confusing conclusions.
Try a simple test with a timer and a supported phone. Take a close picture, then move the phone farther away while keeping it at the same height and your head in the same position. Crop the more distant picture afterward so the face occupies a similar amount of the frame. Compare the relative size of the central features and the visibility of the sides. Keep the lighting and expression steady enough that the distance is the main change.
Separate focal length from the position of the camera
A wide-angle lens is often associated with close selfies because it fits a face into the frame from a short distance. A longer focal length can encourage the photographer to stand farther away to keep the same framing. In that situation, the viewpoint changes, and the change in viewpoint alters perspective. It is easy to credit the lens for a difference that came from moving the camera.
If the camera stays at the same position, changing focal length changes the field of view and the size of the subject in the frame. Cropping a wide image to match a tighter view does not, by itself, create a new perspective. A longer lens does not magically rearrange facial proportions from an identical viewpoint. For a fair comparison, distinguish “we changed the zoom” from “we moved farther away and then changed the zoom.”
Real cameras also have lens distortion and image processing, so two phone modes may not produce perfectly identical results. Some modes switch between physical cameras, apply corrections, or combine data in ways that are not obvious on screen. Those factors are a reason to keep the test simple, not a reason to assume a particular zoom number guarantees a faithful face. Record the distance and use the same camera mode for your comparison set when possible.
For a practical styling photo, give the camera enough room that it is not immediately in front of your face, then crop to a useful portrait. Check that the resulting image retains enough detail to see the haircut or frames you are comparing. You do not need a specific professional lens to make a more consistent reference picture.
Keep the camera level and change one angle at a time
A phone held high looks down onto the forehead and cheeks while changing how much of the lower jaw is visible. A phone held low shows a different relationship between the chin, jaw and upper face. Neither is a neutral comparison with a straight-on mirror view. Place the camera around eye level and keep it level before deciding what the photograph says about your outline.
Head position is separate from camera position. Lowering the chin, lifting it or leaning forward can change the visible boundary under the jaw. Turning to one side reveals one cheek and hides part of the other. A slight turn may be exactly what you want for a portrait, but it is not the best starting point for comparing the width of the two sides.
Take a straight-on reference first, with shoulders comfortable and your gaze toward the lens. Then try a small turn or tilt if you want to explore a different portrait. Label the pictures by what changed rather than calling one the “real” face. A relaxed expression also matters: smiling raises the cheeks and changes the lower outline. Compare a neutral expression with another neutral expression, and a smile with another smile.
Camera distance. Relative size of near and far features. Check keep height and expression steady; crop afterward.
Camera height. Visibility of the forehead, chin and jaw. Check start at eye level before trying higher or lower views.
Head rotation. How much of each cheek and side is visible. Check begin facing forward, then turn by a small amount.
Expression. Raised cheeks and changes around the mouth. Check compare like expressions under similar light.
Look at the light before reading the jawline
Broad light from directly in front can reduce visible shadows across the face. That may make a curved cheek or jaw boundary less distinct in the image. Light from the side introduces shadows that reveal some contours and hide others. A pronounced shadow is not proof that the underlying face became more angular; it is information about the direction and quality of the light.
For a neutral reference, stand near a window with soft light reaching the face and avoid a single harsh ceiling light. Keep your position relative to the window unchanged while comparing two frames or hairstyles. If one image has a bright window behind you, the phone may adjust exposure differently and lose useful detail in the face. Move or change the camera position before judging the result.
Hair and clothing can affect the visible boundary too. Dark hair against a dark background can hide where the face ends, while a bright background may make its outline easier to distinguish. A high collar can cover part of the jaw. Pull hair back for a face-shape check, then take a separate photograph with your normal styling if that is the look you are evaluating.
A portrait can use dramatic side light or a deep shadow because you like the effect. The practical distinction is between choosing a picture for expression and using it as a consistent styling reference. Both are reasonable uses; they simply ask different things of the lighting.
Understand why the mirror feels more familiar
A mirror gives you a reflected view that changes continuously as you move. A photograph freezes one instant from one camera position. You are also more accustomed to the left-right arrangement you see in your own mirror than to an unmirrored photograph. Natural differences between the sides may therefore feel unexpectedly prominent when the image is displayed the other way around.
Phones vary in whether a front-camera preview and its saved image are mirrored. Check the setting if the result repeatedly surprises you. Reversing the picture can make it feel more familiar, but it does not change the camera distance or undo perspective. It also does not establish that one orientation is more accurate for deciding whether your face is round.
Filters and retouching introduce another variable. Some smooth skin, change cheek contours or narrow the jaw, and the effect may remain active after you switch camera modes. Turn off beauty settings for a reference photo and compare an ordinary saved image rather than a social-media preview. If you cannot tell what processing was applied, avoid using tiny contour differences as evidence.
No single still image contains every normal way your face appears. People see you moving, speaking and turning under changing light. A group photograph caught between expressions can feel unfamiliar for that reason. It is a moment, rather than a final verdict about the shape you should use in a styling search.
Build a small reference set for a real decision
For a haircut consultation, take one straight-on image and one side view in consistent light, with the camera supported and enough distance to avoid an extremely close viewpoint. Include a picture with your hair in its usual state, especially if it is curly or textured. The stylist needs to understand where the hair sits and how it moves, not merely which outline label you have chosen.
For glasses, compare each pair from the same distance and height. Smile in a second image so you can see whether the lower rims meet the cheeks, but check that contact physically too. A photo cannot tell you whether the bridge pinches or the temples press behind the ears. Use it to compare appearance alongside a proper fitting, rather than as a replacement.
When you are assessing face shape, look across the set for stable features: where the face seems widest, how the jaw turns toward the chin, and whether length is clearly greater than width. Describe mixed features plainly if the label remains uncertain. “Curved jaw with broad cheeks” may be more useful than repeatedly changing between round and oval after every selfie.
Keep the pictures that help you make the choice and stop retesting once the practical question is answered. A consistent reference can show how a fringe, frame or parting looks without treating every camera difference as something to fix. You can choose the portrait style you enjoy and still keep a separate, straightforward image for comparing details.